Image Search Source Code Link:
Today we have a fun little project. We are going to do Reverse Image Search.
Workflow for the Image Search:
- Choose an image
- Initialize number and color, of segments for that image
- Run KMeans to segment that image into regions
- Find the most similar image based on the regions extracted and processed from both images
Introduction to Reverse Image Search
This project is all about comparing two images and measure their similarity. There are plenty of ways how you can calculate that percentage, but we will do it using K-Means and image segmentation. The idea is to divide the image into regions, and base our similarity percentage on that. Google has implemented their own way of Reverse Image Search algorithm and you can check it our here.
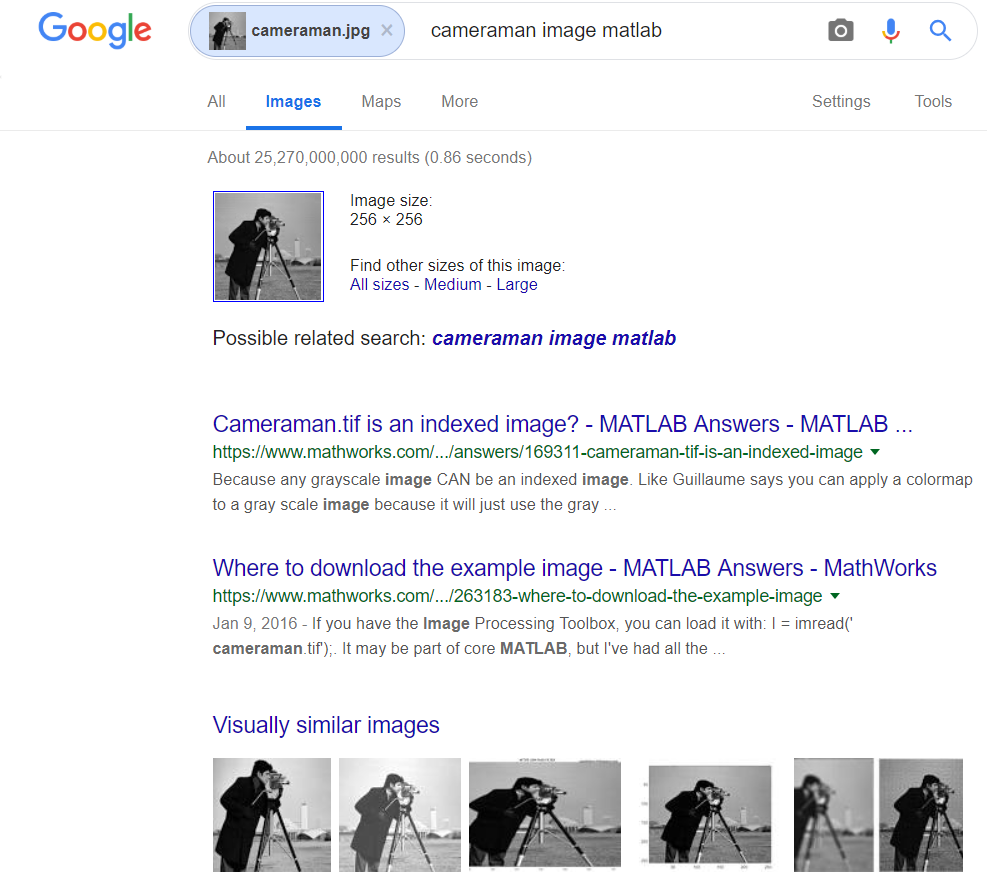
Choose an image, and drop it down or upload it to images.google.com. Google will find the most similar/exact match to your image search query.
Example:

Like I mentioned already, for now we will be using a very basic concept to calculate the similarity, but this is only part one. In the next part we will look at the context of the image rather then just measuring region similarity. Doing an image searching based on the context of the image will yield even better results.
Let’s get started…
Choose an image
Since we are about to do an image search, we need to select an image. In the video presentation above I have chosen the famous “Cameraman” image.
For this project we will be using grayscale images. If you wish to search for a RGB image, you can grayscale it, and then continue with the same procedure.
Select number of regions for Image Search
So this part is very simple. In order for K-Means to segment the image into regions, we first assign the number of K (number of regions) for the image. The bigger the K, the more regions should appear.
If you are not familiar with K-Means you can find more articles/projects about it on my blog:
- How K-Means works – take a look at this project in order to see how K-Means algorithm works visually in 2D space
- K-Means Elbow Method – if you are not sure how many centroids are there in the dataset, check out this project to see how to find out the correct number.
- Shape Recognition with K-Means – will show you how to apply K-Means to a share recognition problem
Image Segmentation
Since we have already chosen an image to search. It is time to process the image. Like I said at the beginning. If the image you want to search for is in a RGB format, then make sure you grayscale it first and then proceed with the rest of this tutorial.
K-Means for Image Segmentation
In case you are wondering how you can perform image segmentation using K-Means, you can check the following link:
In the following image I have the results from the image segmentation using two and three regions/centroids for the cameraman image.

The idea is that a similar image would have similar regions. We will see how we will calculate that in the following part of the tutorial.
Image Search
OK, so now we have segmented our image into regions. We are ready to search.
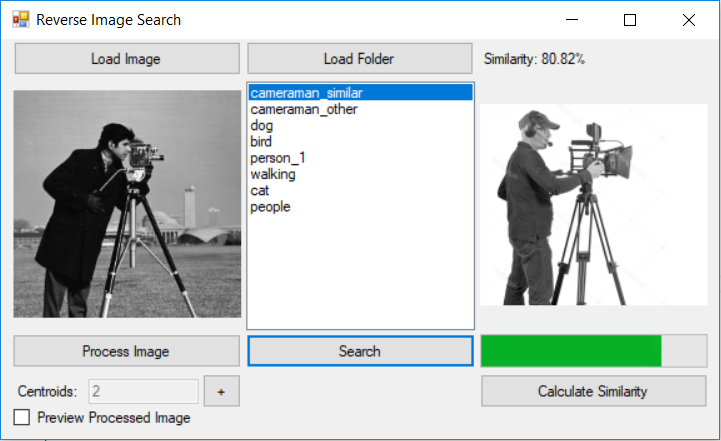
In the demo application, I have built in option to load images from a selected folder on our PC. The app will calculate the image similarity for all the images in the selected folder. Ultimately it will sort the list based on similarity as shown in the following image.

At the moment we are calculating the similarity based on the pixels in a region. Here is a code snapshot:
public double CalculateSimilarity(Bitmap bmpImage1, Bitmap bmpImage2)
{
     int correct = 0;
     for (int i = 0; i < bmpImage1.Width; i++)
     {
          for (int j = 0; j < bmpImage1.Height; j++)
          {
               Color c1 = bmpImage1.GetPixel(i, j);
               Color c2 = bmpImage2.GetPixel(i, j);
               if (c1.ToArgb() == c2.ToArgb())
                    correct++;
          }
     }
     int maxPixels = bmpImage1.Width * bmpImage1.Height;
     double SimilarityPercent = (100.0 * correct)/maxPixels;
     return SimilarityPercent;
}
As you can see from the code, both images are processed. And each processed image is colored in their respective region colors that we have set up at the beginning. All that is left is to count the number of pixels that match (belong to same region), and calculate the percentage.
Final words…
There it is… Very simple.
Next time we will try to extract regions and compare the similarity based on the context of the image.
If You have ideas on how to improve the current solution, please write them down in the comment section.
