
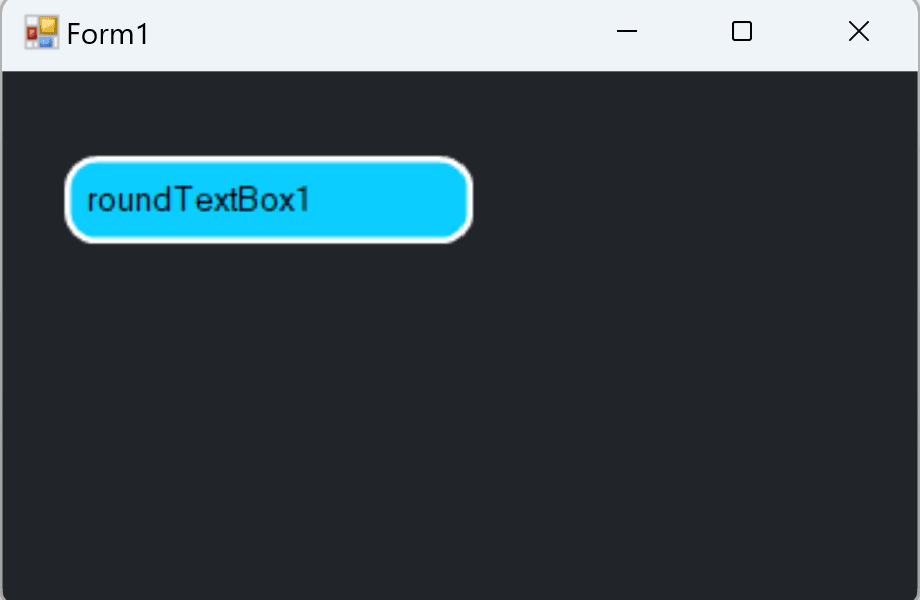
Hey guys, in this article we are going to learn how to create Round Corner TextBox in WinForms C#.
How to create Round Corner TextBox in C# – Source Code
Windows Forms and Round TextBox Control
In the previous post we saw how to create a more general round corner control. This is the base we are going to use in this tutorial. So, make sure you understand and implement what we did last time. In case you missed it, here is the link for you:
The reason behind this tutorial is the inability to create a more modern look with Windows Forms. Unless you buy a third-party library, there are no round corners baked into the native controls. But we are going to fix that.
Round Corner TextBox control is something I need quite often. It gives a more unique and modern look and feel to my applications. Although, this is not the best solution when it comes to the GUI, please remember there are a lot of legacy projects that are still to this day maintained.
If for some reason you are stuck on a legacy project, and you need to create a more polished look to your UI, then this tutorial just might help you. Of course, this goes without saying that the best way to create round corner TextBox is to use WPF and its capabilities.
What are we going to build

We will continue working with the control we already created. And that is the custom round corner control. We will use it to create a round corner textbox.
We will inherit from it and expose the capabilities of a regular textbox. This is one of the easiest ways to achieve the desired visual effect.
Round Corner TextBox in C#
First off, let’s open our previous project. You can find the initial code on github. Now, open the project and you should get something like this:
As you can see the initial Round Corner TextBox project contains the Extensions folder. Inside there is a class called GraphicsExtensions.cs. There are couple of methods that extend the Graphics class with methods for drawing rectangles with round corners.
The RoundControl is a custom Windows Forms User Control. It is the basis for what we are going to do next. If you open and take a look inside it, you will see that we are overriding the OnPaint method. Basically, we are taking over the control of how this user control is painted in run and debug mode.
So, how all of this relates to a Round Corner TextBox control? Well, it’s quite simple actually. We are going to inherit from the Round Conrner Control to create the rounded corners of our custom TextBox control.
More on DevInDeep:
- How to automate Browser in C#
- How to create Autocomplete TextBox in C#
- How to Detect File Change in C#
Add new Windows Forms User Control
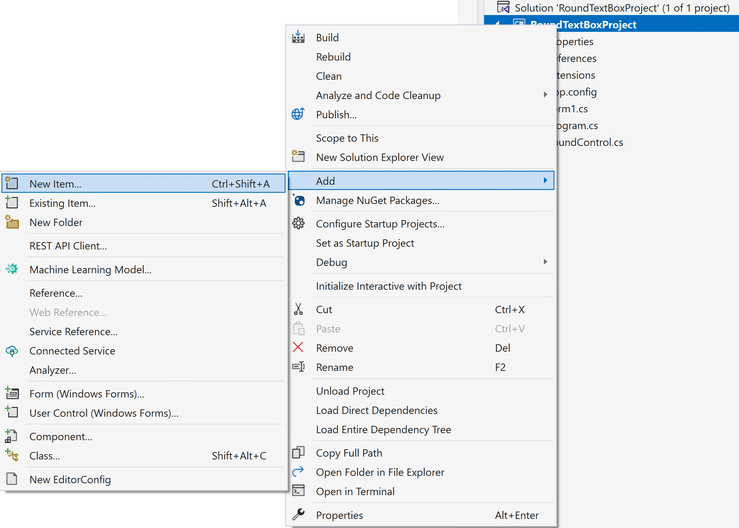
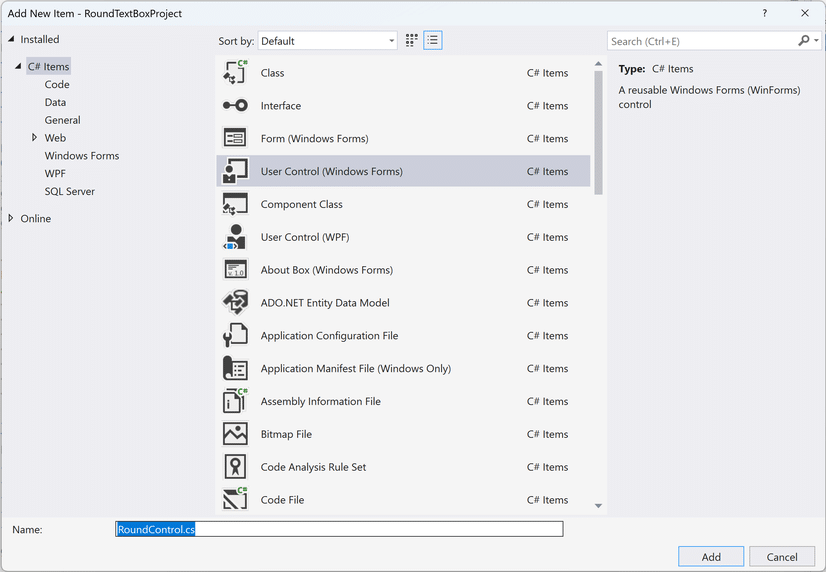
First, right click on your project, navigate to Add menu and then click New Item from the sub menu. A new window will pop up. In this window select the User Control (Windows Forms) option and set a name. You can name it: RoundTextBox.
Please note that the following image is recycled from the previous post. As a result, instead of typing RoundControl write: RoundTextBox.
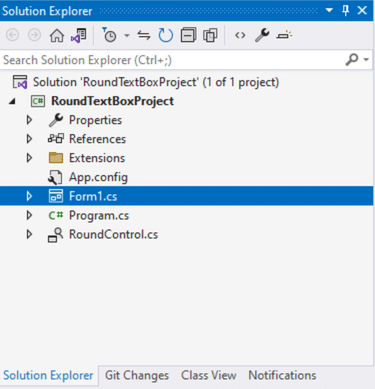
If you are following me, then this is how your Solution Explorer Window should look like:
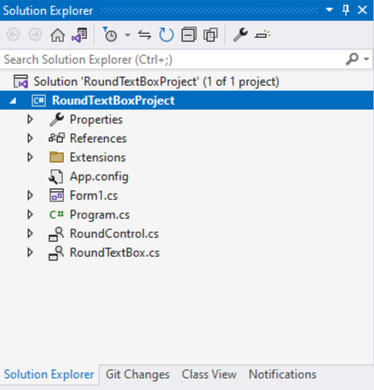
As you can see, there is one little change. Besides the RoundControl now there is RoundTextBox control as well. We are ready to start building our Round Corner TextBox. Let’s dive in right to it.
How to Create Round TextBox Control
I will mention this one more time. Before moving on please check the following tutorials:
These tutorials contain all the necessary information for you to continue. You can also download their source codes from GitHub:
Right now it is obvious what we need to do next, so, lets dive right into coding.
First, make sure you inherit from RoundControl.
namespace RoundTextBox
{
    public partial class RoundText : RoundControl
    {
    }
}
Please note that inheriting from RoundControl will give us the effect we want. And that is round corners. We will also inherit very important properties like: BackgroundColor, Radius and BorderColor. That’s good because we don’t have to implement them again and again. You can see where I am going with this.
Now, in the designer window of the RoundTextBox you need to add just a regular TextBox. The designer window should look something like this:
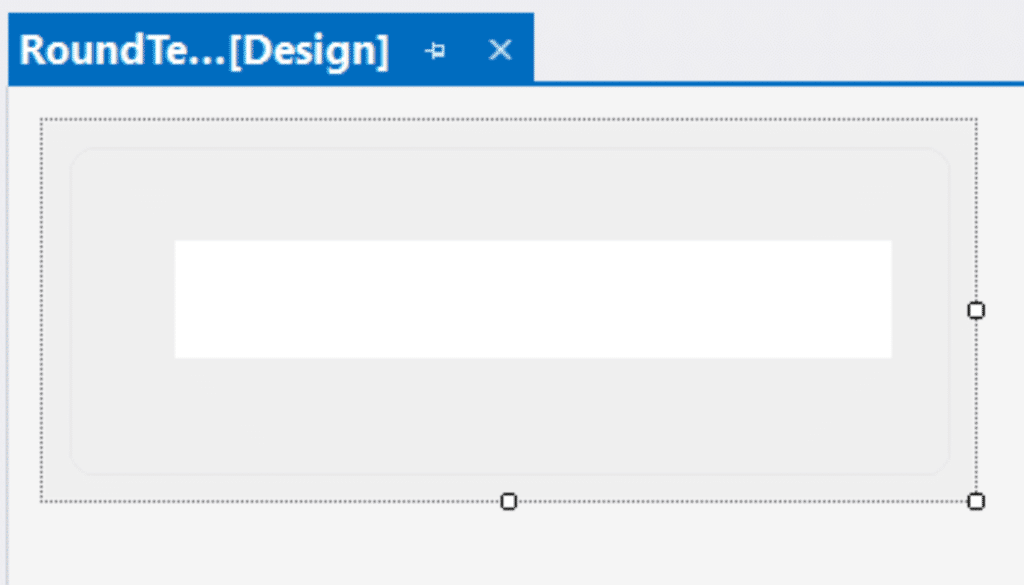
As you can see the TextBox control is pretty much centered. But, it needs to be configured so that it blends in with the background of the user control. This way we make the illusion of having a round edge TextBox.
To do that, we need to set up some properties.
Set the Properties
Set the AutoScaleMode property of the RoundTextBox user control to None. Before we move on I want to mention that I do not want to scale the control based on the Font size. I want to be able to scale the control in the designer in a free form fashion. There might be a scenario where you would like to have the control scaling based on the Font, and you can experiment with that.
Now, let’s move on and see what properties we need to update on the TextBox side:
Anchor: Top, Bottom, Left, Right
BorderStyle: None
Multiline: True
The Anchor property is set so that the TextBox follows the size of the host. BorderStyle is set to None so that we can easily blend the TextBox into the background. Multiline is set to True so that we can take control of the resizing of the TextBox.
Now, you can set the Multiline property to False as well. But that will give you a single line TextBox and you will not be able to set the Height property. This is because the Height will depend on the Font size. If for some reason you want a single line TextBox then you have to make sure to resize the host control as well. Note, that the resize must be done via the Font property. That way you will get the best results.
Round TextBox C# Code
Before writing any behavior code, let’s take a look at the properties.
[EditorBrowsable(EditorBrowsableState.Always)]
[Browsable(true)]
[DesignerSerializationVisibility(DesignerSerializationVisibility.Visible)]
[Bindable(true)]
public override string Text { get => textBox1.Text; set => textBox1.Text = value; }
public override Color ForeColor { get => textBox1.ForeColor; set => textBox1.ForeColor = value; }
private Font _Font = UserControl.DefaultFont;
[Description("Sets the font of the button caption")]
[Browsable(true)]
[Bindable(true)]
[EditorBrowsable(EditorBrowsableState.Always)]
[DesignerSerializationVisibility(DesignerSerializationVisibility.Visible)]
public override Font Font
    {
        get { return base.Font; }
        set { textBox1.Font = base.Font = value; }
    }
The code might look a little peculiar to you right now. But, we will explain it now.
At the very beginning you can see we are overriding the Text property of the RoundedTextBox control. The override is done so that we can delegate the text to be displayed in the TextBox. Now, there are couple of property attributes that we should discuss.
The first three: EditorBrowsable, Browsable and DesignerSerializationVisibility allows us to display the property in the properties window. Without them, you will not be able to see the text property. There is one other problem we are trying to solve. Saving the user input. If you set the Text property to: “Hello” that string value needs to be saved and displayed when you load the project or form some other time. The DesignerSerializationVisibility enum does exactly that. It sets this property as visible for serialization thus, its value will be stored as it should.
OnPaint Method
The only functionality code we will write is to blend the TextBox with the background. So, we will overwrite OnPaint method
protected override void OnPaint(PaintEventArgs e)
{
    base.OnPaint(e);
    textBox1.Location = new Point(Radius + 7, Radius + 7);
    textBox1.Size = new Size(Width - ((Radius + 7) * 2), Height - ((Radius + 7) * 2));
    textBox1.BackColor = BackgroundColor;
}
As you can see the code is quite simple. First, we let the base control paint itself. This will create the round edges. Next, we place the TextBox to a location where it would look like the text writing starts just bellow the round corners. The size needs to be as big as the hosting control. But, we have to make sure it doesn’t touch the round corners. Finally we blend everything in by setting the BackColor to the controls BackgroundColor property. And just like that we have a round corner TextBox control.
What’s next?
Next, we are going to inherit directly from Control class. This will allow us to create a truly custom control that doesn’t necessary looks like anything we have done before.