

There have been a couple of instances where I needed Scrollable PictureBox Control. This tutorial will demonstrate how to add automatic scrollbars to the image displayed in Picture Box.
Full Source Code is available at
DevInDeep/ScrollablePictureBoxProject (github.com)
In order to display an image to a Windows Form, we would use a PictureBox. This particular control contains a property Image. It allows the developers to set and display an image at design or at runtime. The control is quite versatile. And, It’s easy to use as well.
But there is one thing missing. It doesn’t allow the user to scroll through the image.
When setting the image you can choose between couple of options
- AutoSize
- CenterImage
- Normal
- StretchImage
- Zoom
You can read more about the PictureBoxSizeMode property here.
But there is no option to add automatic scroll bars to the control. So, in this tutorial we are going to make this possible. We are going to add automatic scrollbars when the image is larger than the view area.
Related Tutorials:
- How to Scrape Web Page using C#
- How to Create AutoComplete TextBox using C#
- Implement Text Detection in C#
- How to Implement Reverse Image Search in C#
So, without further ado, fire up your Visual Studio and create a new project. Because this tutorial focuses on the Windows Forms PictureBox Control, you need to create a new Windows Forms App project under .NET
In the next step, set the name and the location of your project. I named mine Scrollable PictureBox Control Project. I always use the latest .NET framework. When you are done, just click Create.
When Visual Studio is done creating your project, you should get something like this
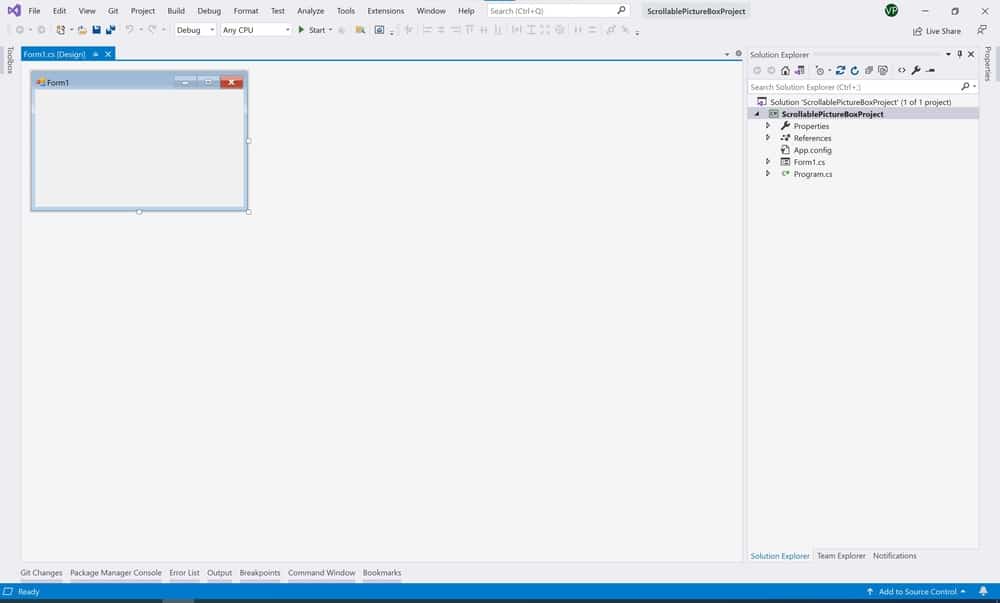
Create Scrollable PictureBox Control
First, let’s add a MenuStrip. This control will allow us to browse and open any image file. Create the following menu structure
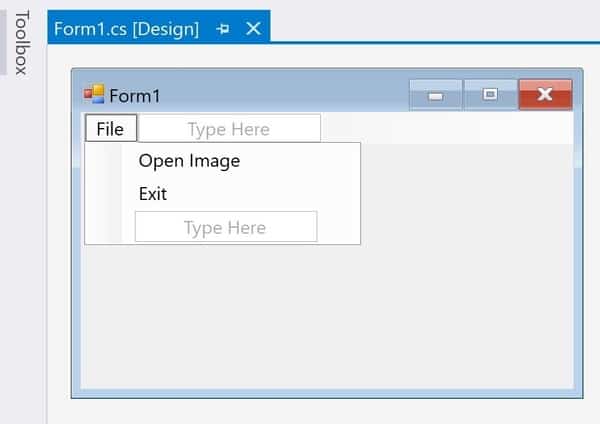
What we are implementing here is an Open Image menu item and right underneath an Exit item. It is pretty self explanatory. We will be able to open file browser dialog and select an image to be displayed. Once we are done using the application, we can exit by clicking on Exit.
The Exit event handler will look like this
private void exitToolStripMenuItem_Click(object sender, EventArgs e) => this.Close();Before we start coding the Scrollable PictureBox Control let’s add everything we need.
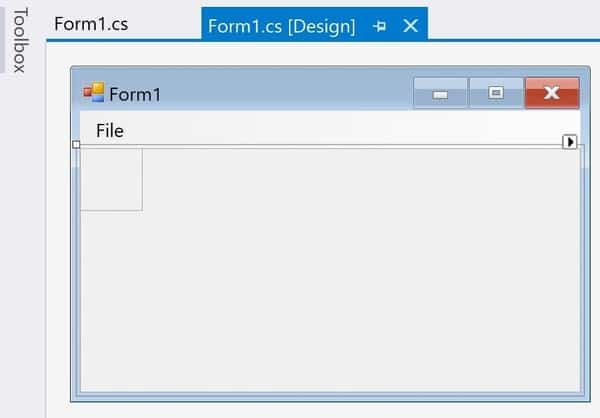
First, drag and drop a Panel control from the ToolBox to the Form. Once one the Form, change the name of the control to pnlPictureParen, and set the Dock property to Fill. As a result, the Panel control will fill in the rest of the available space on the Form. This is an optional step. Maybe you have a different visual setup? It’s OK, I did it because It makes sense for demonstration purposes.
From the ToolBox drag and drop a PictureBox control over the Panel. This in turn will be the parent control of the PictureBox. We will see soon enough why this arrangement.
Name the newly created control pictureBox. Set the Location property to X: 0 and Y: 0. I also set the PictureBox control size to Height: 100 and Width: 100.
This is what I have so far
Adding Auto ScrollBars
In order to get scrollbars if the image is larger than the view you must set the following properties
PictureBox Control
- SizeMode = AutoSIze (more documentation can be found here)
Panel Control
- AutoScroll = True
These two properties make all the difference. The SizeMode on the PictureBox allows for the control to grow and shrink with the image. In other words, the PictureBox is sized equal to the size of the image it contains.
The AutoScroll property on the Panel indicates whether scrollbars automatically appear when the control contents are larger than its visible area.
So, as you can imagine the combination of these two properties fits perfectly into the idea of Scrollable PictureBox Control.
Open and Present Image
The rest of this tutorial focuses on the code that loads up the image. Here is the code snipet.
private void openImageToolStripMenuItem_Click(object sender, EventArgs e)
{
     using (var ofd = new OpenFileDialog())
     {
          ofd.Title = "Open Image";
          ofd.Filter = "Image Files| *.jpg; *.jpeg; *.png;";
          if (ofd.ShowDialog() == DialogResult.OK)
               pictureBox.Image = Image.FromFile(ofd.FileName);
     }
}
This code creates a new OpenFileDialog window. It sets its Title and Filter properties. Since we are interested in opening images, the Filter is set accordingly.
If the user clicks on the OK button, it means an image is selected. All we have to do is load the image into the scrollable picturebox. We do that by assigning the selected image to the Image property.
This is the final result
Scrollable PictureBox Control
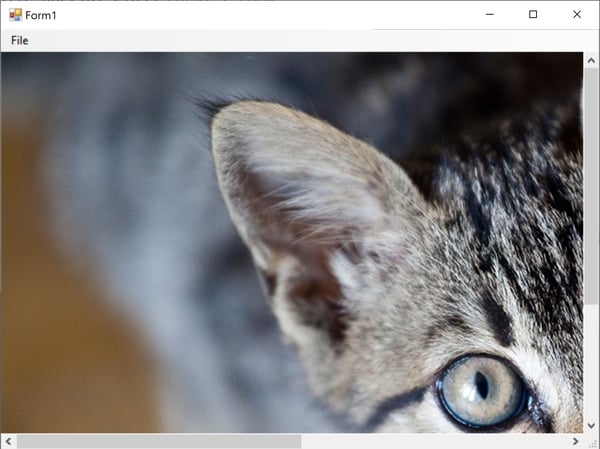
As you can see from the example shown above, there are two scrollbars. They are automatically displayed, because the image I loaded is larger than the visible area. If you try the vertical and horizontal scroll, you will notice that a different part of the image is displayed.
If you resize the form to fit the original image size, we get the following view

The automatic scrollbars are now gone. This is the reason why I docked the panel onto the form. If you resize the form to be able to display the complete image. The scrollbars will disappear. This is because the visible content fits well within the Panel size.